Blue Team
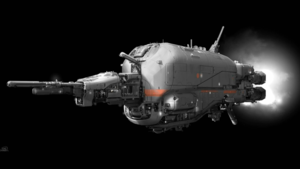 "The Master Chief is reunited with his Spartan II Blue Team for a routine investigation of the lost ONI research station, Argent Moon
"
"The Master Chief is reunited with his Spartan II Blue Team for a routine investigation of the lost ONI research station, Argent Moon
"Beginner Goals:
Easy: x:xx Legendary: x:xx
Intermediate Goals:
{{{time2}}}
World Class Goals:
{{{time3}}}
IL Records:
{{{time4}}}
Segmented Times:
{{{time5}}}
Blue Team is the 2nd level in Halo 5. See Halopedia for general information.
Haloruns record page: http://haloruns.com/records?lb=0802 (click the timestamps for video links)
Contents
Video Examples
Examples of every trick mentioned here can be found on either the Individual Level or Game Records page.
Watch Video: Halo Speedrunning Tutorial - Part 2: Blue Team
Beginning/Elevator Skip
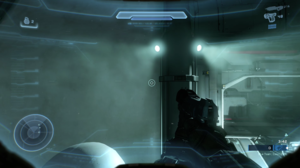
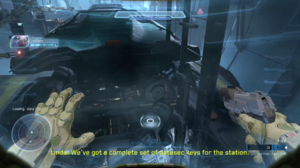
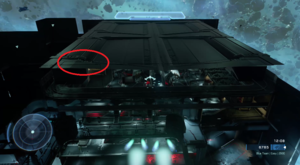
Start off by running and jumping off the small extension of the white pillar directly at the left light and clamber onto it while hovering and crouching. Once you are on the light jump backwards and thrust to the right to get around the black pipe. you cant walk on the windows but you can keep jumping to the right and clambering. (right after clambering if you don't jump you will slide off the window). there are two other pipes you need to jump around. Once you work your way to the final one there is an invisible wall you need to get by. you can either jump and thrust in between the wall and the pipe, or jump backwards away from the building, hold your ground pound to extend your hang-time, and thrust around the right side of it. Once you are out of bounds run through the mission until you reach the small room containing a few grunts right before the first button room. Jump off the right side. You should hit a load here that usually freezes the game for a few seconds. (If the floor in the next section is not solid you didn't hit this trigger). Hover just under the floor and thrust under the button room. (If no enemies are spawned in the next section you missed this load). Then ground pound as far as possible just to the left of the elevator shaft which should land you at the bottom of the elevator. You can then grab a sword from the elite at the top of the stairs in the next section by getting close to him and back smacking him
Easy
Hunters
If you manage to assassinate the invisible sword elite before the elevator, you will be able to grab his 100% sword which is helpful for the hunters. It only takes two sword hits in the weak spot on their back to kill a hunter on easy. However, when you kill a hunter the other will sometimes berserk and not let you near their back. So to avoid this you can sword the first hunter once and assign your team mates to finish him off while you kill the second one, ensuring the second one doesn't berserk. Hitting their fleshy red spot can be tricky sometimes but you know you hit it when you get red hitmarkers indicating a critical hit. Also be sure to use your melee button rather than your shoot button for faster sword hits.
Reactor Room
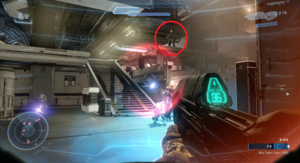
After entering the reactor room, you need to kill everything in the far room to activate the button. You should see two elites near the entrance of this section, ground pound one of them and sword the other, then run and sword the six elites and clean everything else up with either a shotgun or the hydra. After everything is dead you can push the button. However if you push it the second it becomes active, you will sometimes not get the dialogue and the elevator will take an extra 15 seconds to move. After going down the elevator you can ground pound onto the platform containing a fuel rod. Grab the fuel rod, and proceed to push the button and destroy the eight vents with fuel rods and or rockets and finish off the last few with banshee bombs. You can push down on the D pad to reveal any vents not yet destroyed. Once they are all destroyed you can proceed with the banshee.
Flying the banshee
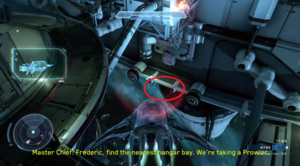
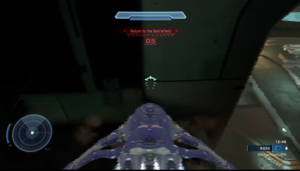
Fly your banshee under the platform where you are intended to go and fly back up so you are now behind the wall under the hallway. Follow the hallway in the banshee until you reach the hallway beside the final room. Stay under the hallway until you hear master chief say "We're taking a prowler". Now you can fly in through the far left side of the ceiling. Entering too close to the door will cause you to teleport inside and lose your banshee. Also beware of the kill barrier above the prowler. Once you successfully manage to get inside the room you need to trigger the big door to open by flying your banshee in front of it, banshee bomb the sword elite and fly to where the hunter will later spawn and park the banshee against the wall. Melee it 2 or 3 times to move it slightly away from the wall and this should be good to block the hunter from jumping into the map.
Final Room
After pushing the button, grab the saw. The rest of this mission is mainly just spawn killing waves of enemies.
- Kill the grunts and jackals that are scattered around the room with the saw.
- Jackals will drop from the prowler, kill a few if possible and grab the sword on the center platform
- Spawn kill the hunter when it drops into the map with the sword
- Continue killing things until you hear "covenant reinforcements inbound". This will spawn some elites
- Grab the rockets on the center platform and back smack the 2 elites that drop in to the map by where you killed the hunter
- Clean up the rest of the enemies and stand on the center platform the trigger the end of the mission.
