The Maw
Beginner Goals:
9:00
Intermediate Goals:
{{{time2}}}
World Class Goals:
{{{time3}}}
IL Records:
{{{time4}}}
Segmented Times:
{{{time5}}}
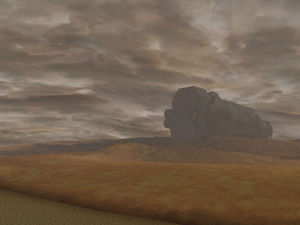
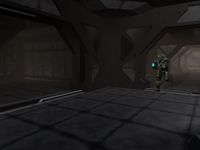
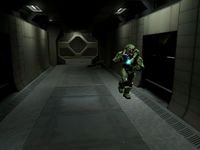
The Maw is the tenth and final level in Halo: Combat Evolved. See Halopedia for general information.
Halo Runs record page: http://www.haloruns.com/records?lb=110 (click the timestamps for video links)
Contents
Video Examples
Examples of every trick mentioned here can be found on either the Individual Records page or Full Game Records page.
{{Initial Enemy Skip
If you move as quickly as possible in the first section of the level, and walk off of the ladder forward as you fall, there is a chance that you'll skip the spawn of some flood around the corner after the first sentinels. This can be useful on all difficulties, especially the higher ones.
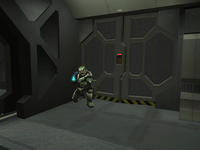
The First Door Bump
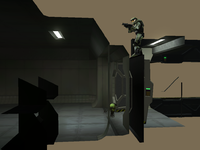
If you run into the left corner of the first closed door as soon as you come up to it, crouch, and stand still, you will be bumped into the ceiling. If you're unlucky, the flood combat form just past the door may decide to melee you through the door, which will mess up the bump. Once in the ceiling you can skip the flood in the first hallway. It takes about 3 full-speed running jumps to clear the hall and get into a spot where you can re-enter the level. It helps to aim backwards and to stay on the far right side of the hall when you do this (so you're jumping off of the lamps). You could try going farther than the end of the hall, though that is probably slower. This strat is most useful on Legendary.
The Second Door Bump
The second door can be used to bump into the ceiling as well. Using this door bump you can ledge across the cafeteria and skip the bridge, saving up to 20 seconds as compared with skipping the cutscene. As with the first door bump, you have to crouch in the left corner of this door before it opens.
On easy
On easy getting this bump to work consistently requires some careful movement:
- Stay on the far left side of the hallway just before you enter the room with the door in it. If you hug the wall all the way through the door shouldn't open early.
- Run into the wall immediately to your right as you pass through the door into the room before the cafeteria. This will make sure the door actually opens.
On legendary
On heroic and legendary a Hunter will bash the door open in a fixed amount of time after you enter the room, so your movement is fairly irrelevant.
Loading Textures
Once you get the second door bump you will have to load the textures for the cafeteria ledge. There are three methods you could use to achieve this, one involving loading a checkpoint, and the other two requiring precise ledging.
Method 1: The Checkpoint
This method is presented in a video from Scurty. Essentially, you proceed forward two blind jumps to get above the first table in the Cafeteria, and then wait for a checkpoint. Whether or not you get a checkpoint is fairly random, it seems. Once you get the checkpoint you can fall back into the map and load last checkpoint to have the textures loaded.
Method 2: The Cubbies
This method was found by Mator. The method requires you to go from the door bump to the four cubbies in the wall. Once on these cubbies you need to move to the right, towards in the cafeteria. If you notice you're stopped you need to crouch jump and move to the right slightly. By crouching and very slowly strafing to the right you have a chance of loading your textures at the magic 50-50 point, where 50% of master chief is inside of the wall and 50% is outside of it. If you pass this 50-50 point you will load the textures, but will also pop back into the level.
Method 3: The Half-pop
This is the method that is used by Cody Miller in his Legendary WR run. It's purported to be entirely random. To do it you get on the lamp above the first table in the cafeteria (two blind jumps, like Method 1), then strafe to the right. Something after that allows you to fall part of the way into the level and then warp back into the ledge.
The Cafeteria Ledge
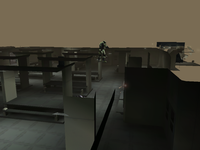
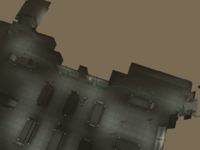
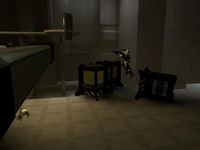
Ledging the cafeteria allows you to skip the bridge entirely. Lamps and edges are solid, so you simply need to jump across on them. The ideal route depends on the texture loading method you used.
Cubbies route
- Jump from the cubbies to the corner just behind you (it's a bend in the wall).
- Run jump to the line to the right of the lamp above the first table.
- Run jump to the right side of the next lamp ahead of you.
- Run jump then to the right side of the next lamp.
- Run jump to to the line to the right of the lamp above the last table.
- Run jump to the final lamp.
- Run jump back into the level, to the left of the door.
- You can go to the right or the left of the strut in the wall. Going to the right is easier, and is more likely to succeed, but going to left may save a a fraction of a second. The strut is solid, so make sure you don't directly run into it.
Tips
- Crouching immediately after landing a jump on a lamp or ledge can help you make the landing and not miss consequent jumps.
- Letting go of forward just as you land a jump on a lamp or ledge can help you to not slide off, and helps set up the next jump.
Bridge Cutscene Skip
{{If you decide not to use the cafeteria ledge to skip the bridge, you should at least skip the cutscene on the bridge. You can skip the cutscene from the left or the right side of the bridge, depending on your preference. To do so, simply orient yourself facing away from the front of the bridge after killing all of the enemies at a precise distance from the front of the bridge. When your screen starts to turn white, run forward, towards the back of the bridge. This should skip the cutscene if you do it correctly.
The Cryo Room
There are two major skips in the Cryo room which are difficulty dependent.
Method 1: The Slant Jump
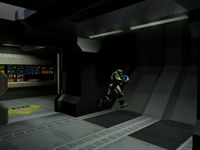
On the far side of the Cryo room (so at the second door down the hallway) there is a slope which you can walk on. This is unique, as most of the similar slopes in the Cryo Room are unwalkable. You can run, or jump up to the top of this slope and then jump up onto the catwalks above.
Method 2: The Frag Jump
On the near side of the Cryo room (so at the first door down the hallway) you can use a frag jump to get up onto the catwalks quickly. This method is a bit faster than the double jump, but it's also more risky. The amount of damage to your shield will greatly influence whether or not you will survive this jump. On easy difficulty having any damage to your shield will make this jump kill you, so it's really not very feasible to do unless you're doing a segmented run.
The Hunter Room
Shortly after the cryo room you'll have to cross a room with two hunters, two elites, a fuel rod grunt, and some sentinels in it. One of the biggest issues in the room is getting past the hunters. This can be done with a rocket, or by getting the Hunters to melee to the right and then strafing around them.
On legendary
On legendary the damage that can be done by the enemies in this room can be massive. Getting the overshield can help deal with the damage. It can also help to stick the two elites in the room as you cross it.
The Reactor Room
Initial grenade jump
Upon entering the room you can throw a frag grenade on the wall immediately to your left and use it to jump up one floor. This will save a nice amount of time, and is doable on all difficulties. Whether or not you should get a first aid kit immediately thereafter is dependent on the difficulty you're playing and the other strats you're using.
Secondary grenade jump
If you got the overshield just after cryo room and have enough shield to survive another frag jump, you can do a second one immediately after the first. This jump is extremely precise: you have to jump at the last possible frame before the frag explodes, and you have to place the frag in a location such that you have a clear path to ascend to the level above. This grenade jump was done by Scurty in H1DS.
Grenade jump to exhaust coupling
Alternative to the secondary grenade jump listed above, you can use a grenade to jump onto the exhaust coupling. This can be done to the left of the canisters, or to the right of the canisters.
Canister jump to exhaust coupling
Instead of using a grenade jump onto the exhaust coupling, you could use a carefully timed jump off of the canister closest to it. For this jump it's important to jump early, crouch on landing, and avoid the bumps on the canister.
Efficient sabotage
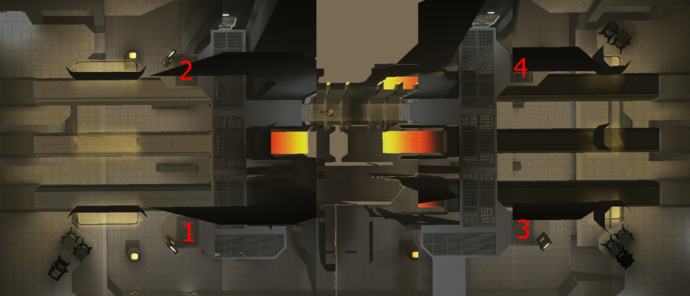
When you reach the exhaust coupling control panels, it can be efficient to open one coupling, run to the adjacent one's control panel, and then blow the first one up. Technically you aren't supposed to have two open at the same time (it can cause the other to close, and sometimes the second won't open), so it's good to blow up the first one you opened, and then open the second. You can do all of this without ever leaving the catwalks. Dem angles!
Maw Run
Drive fast. 360 swag
